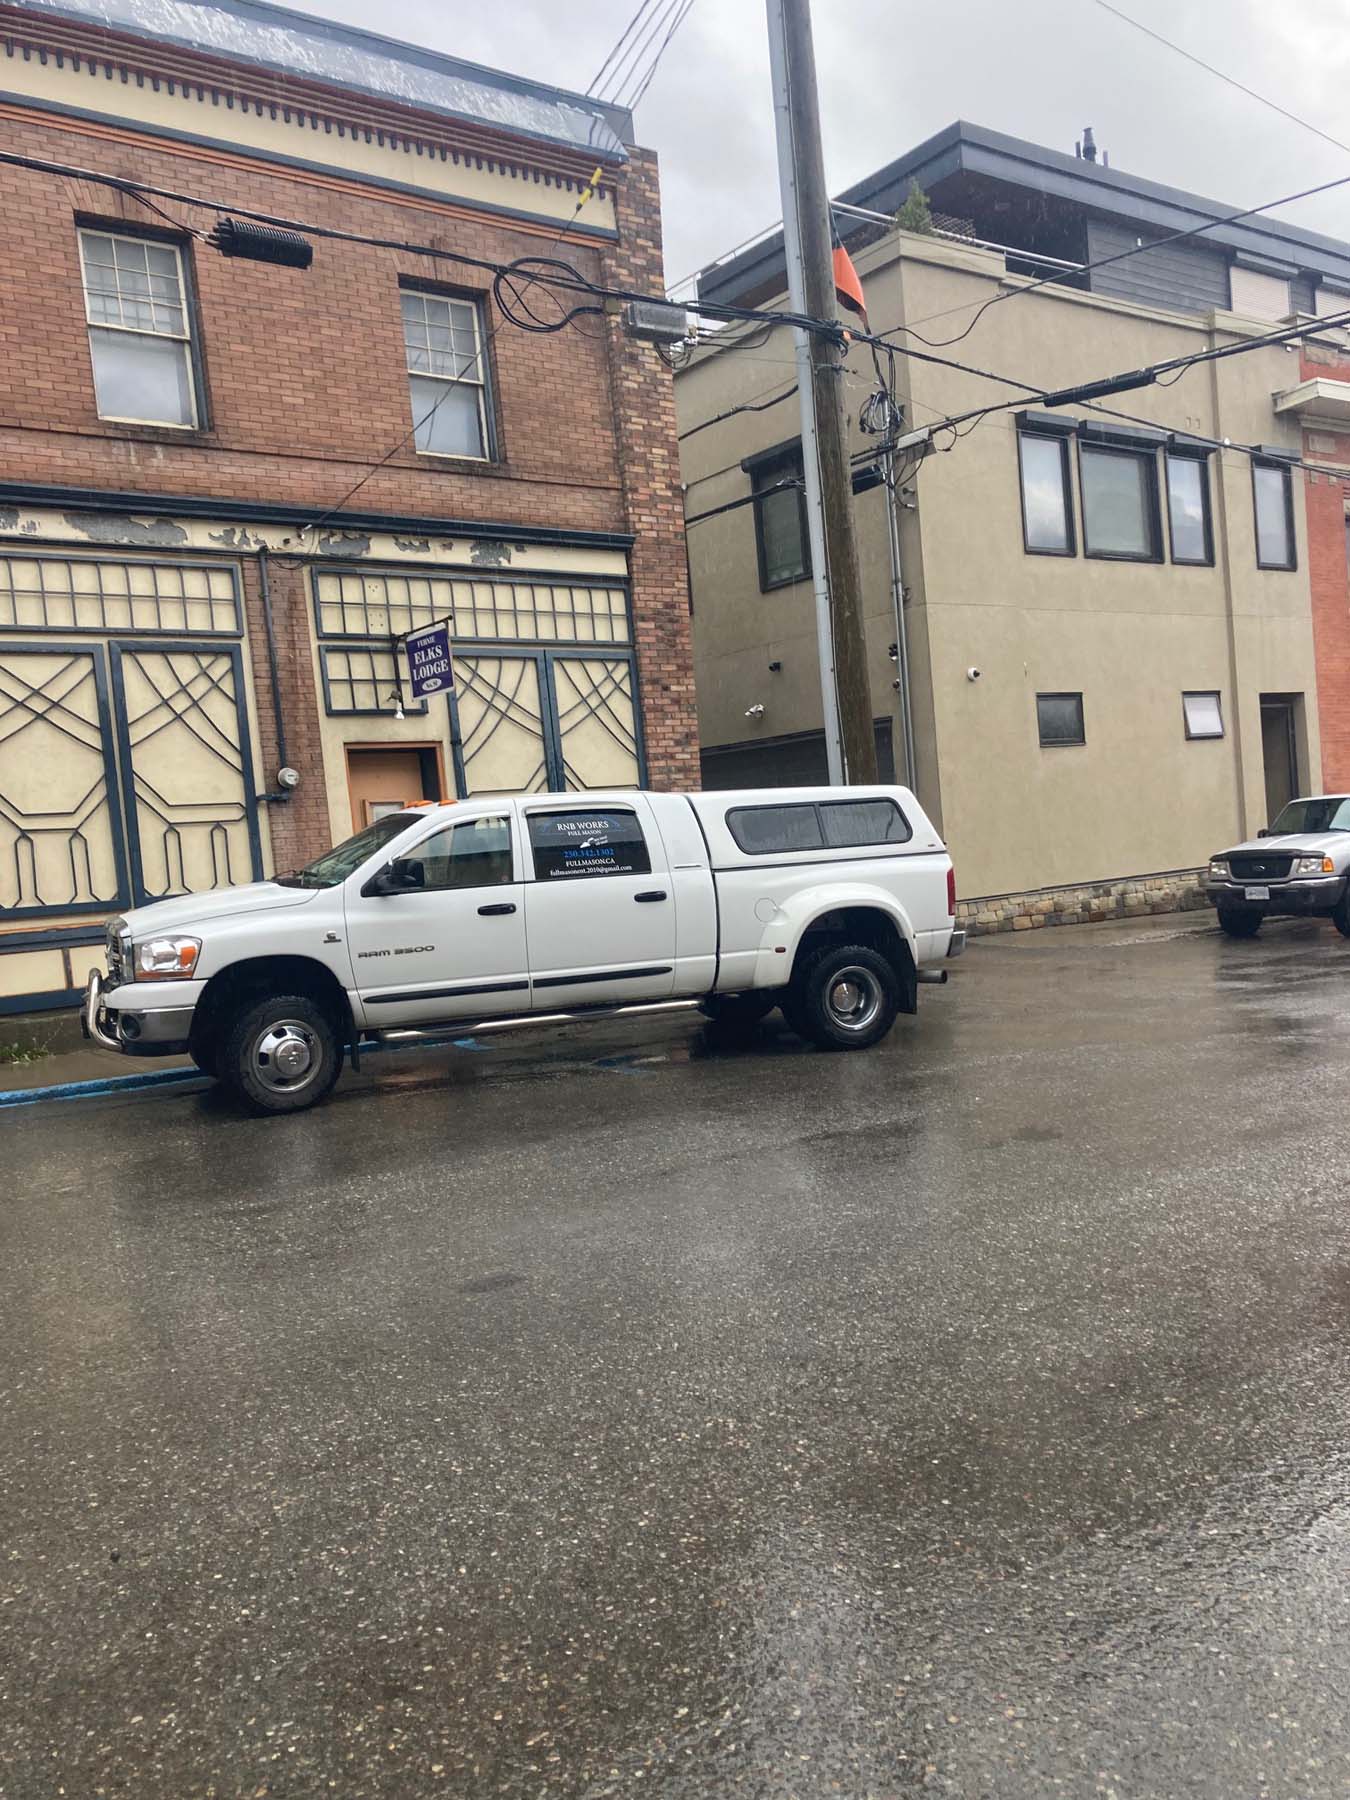
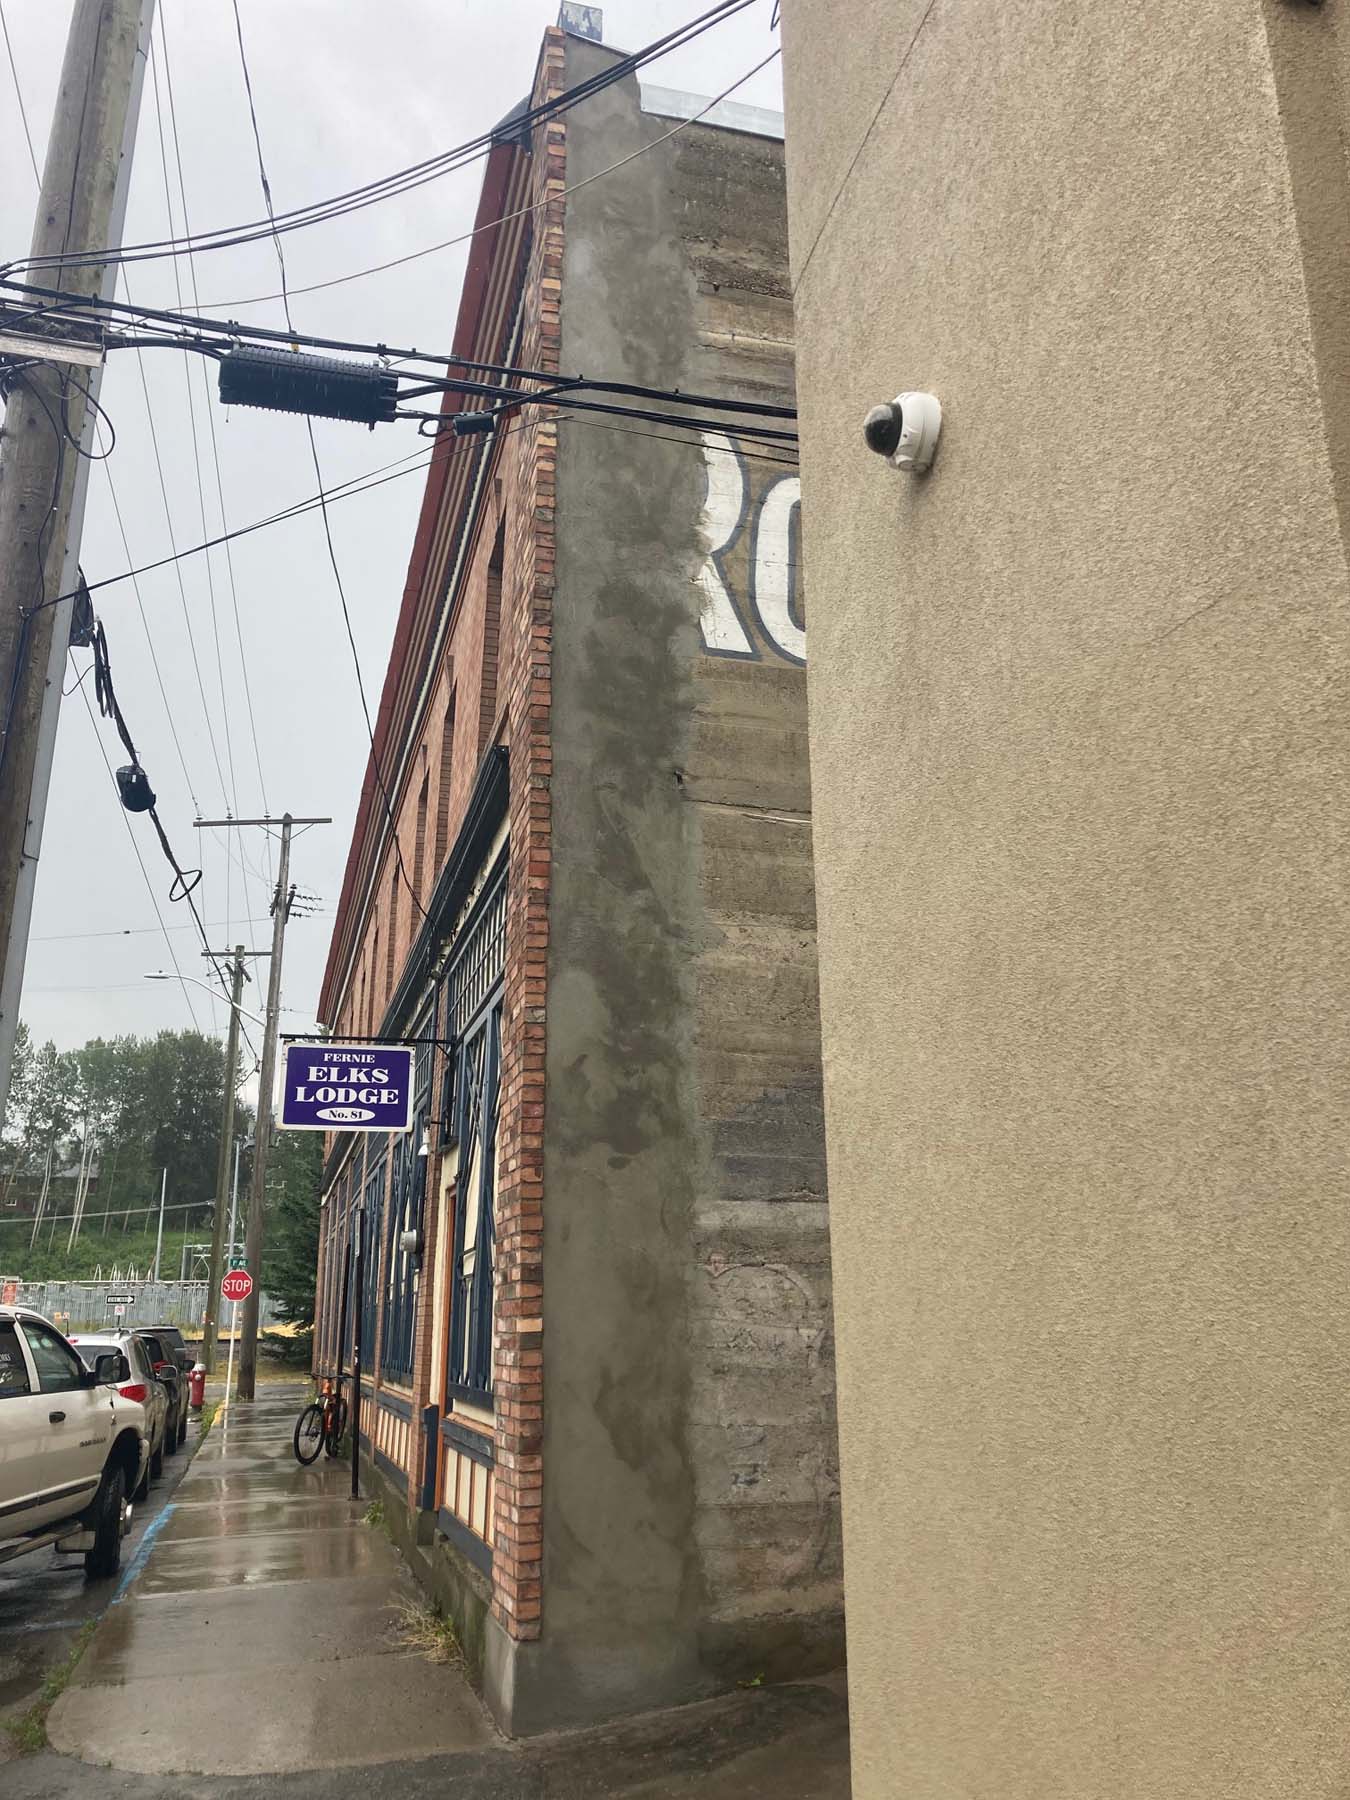
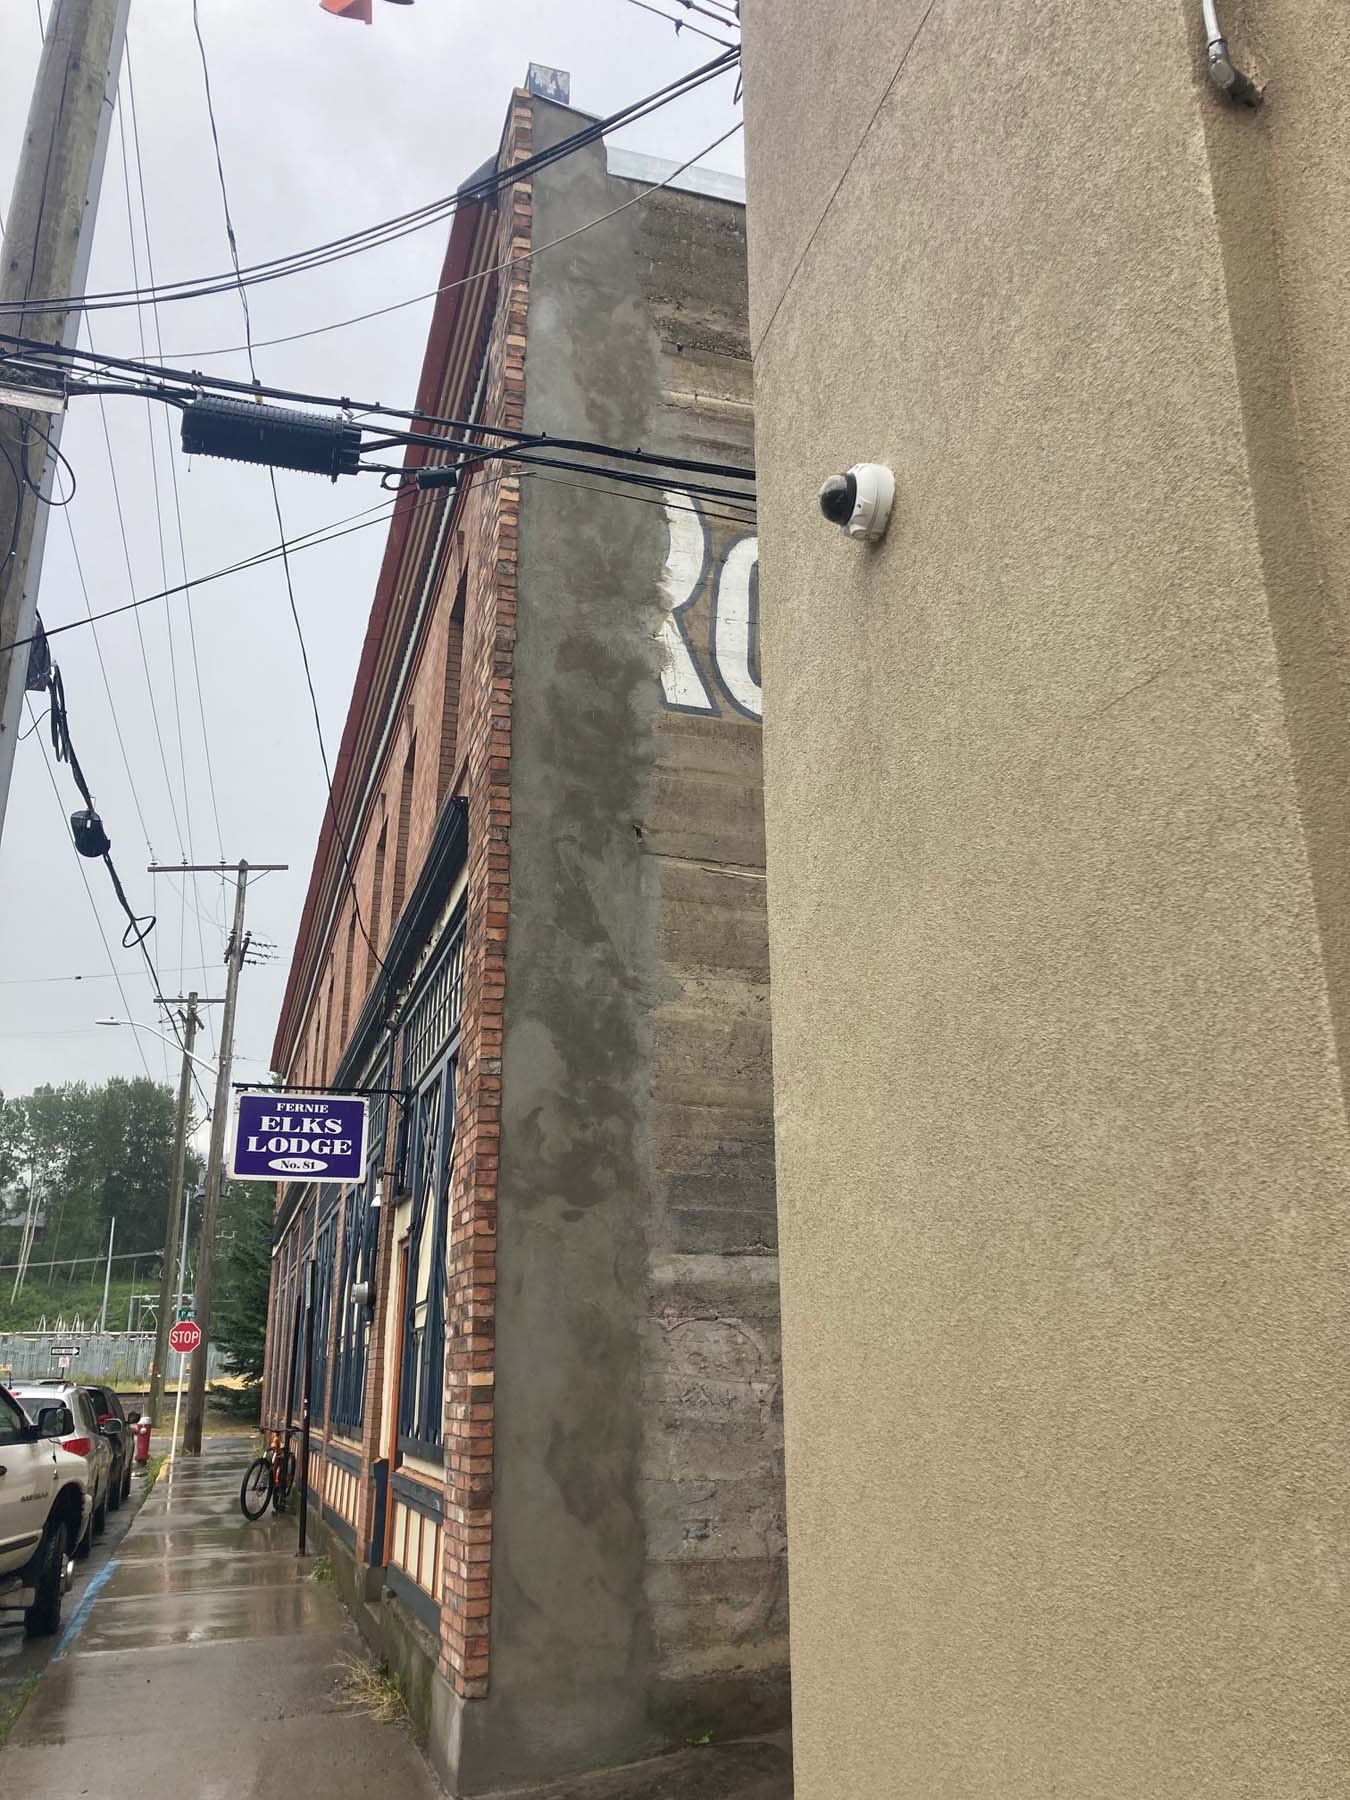
Brick can be reconstructed and has far more longevity than other products. Full Mason does masonry reconstruction all over the interior of British Columbia and Alberta.
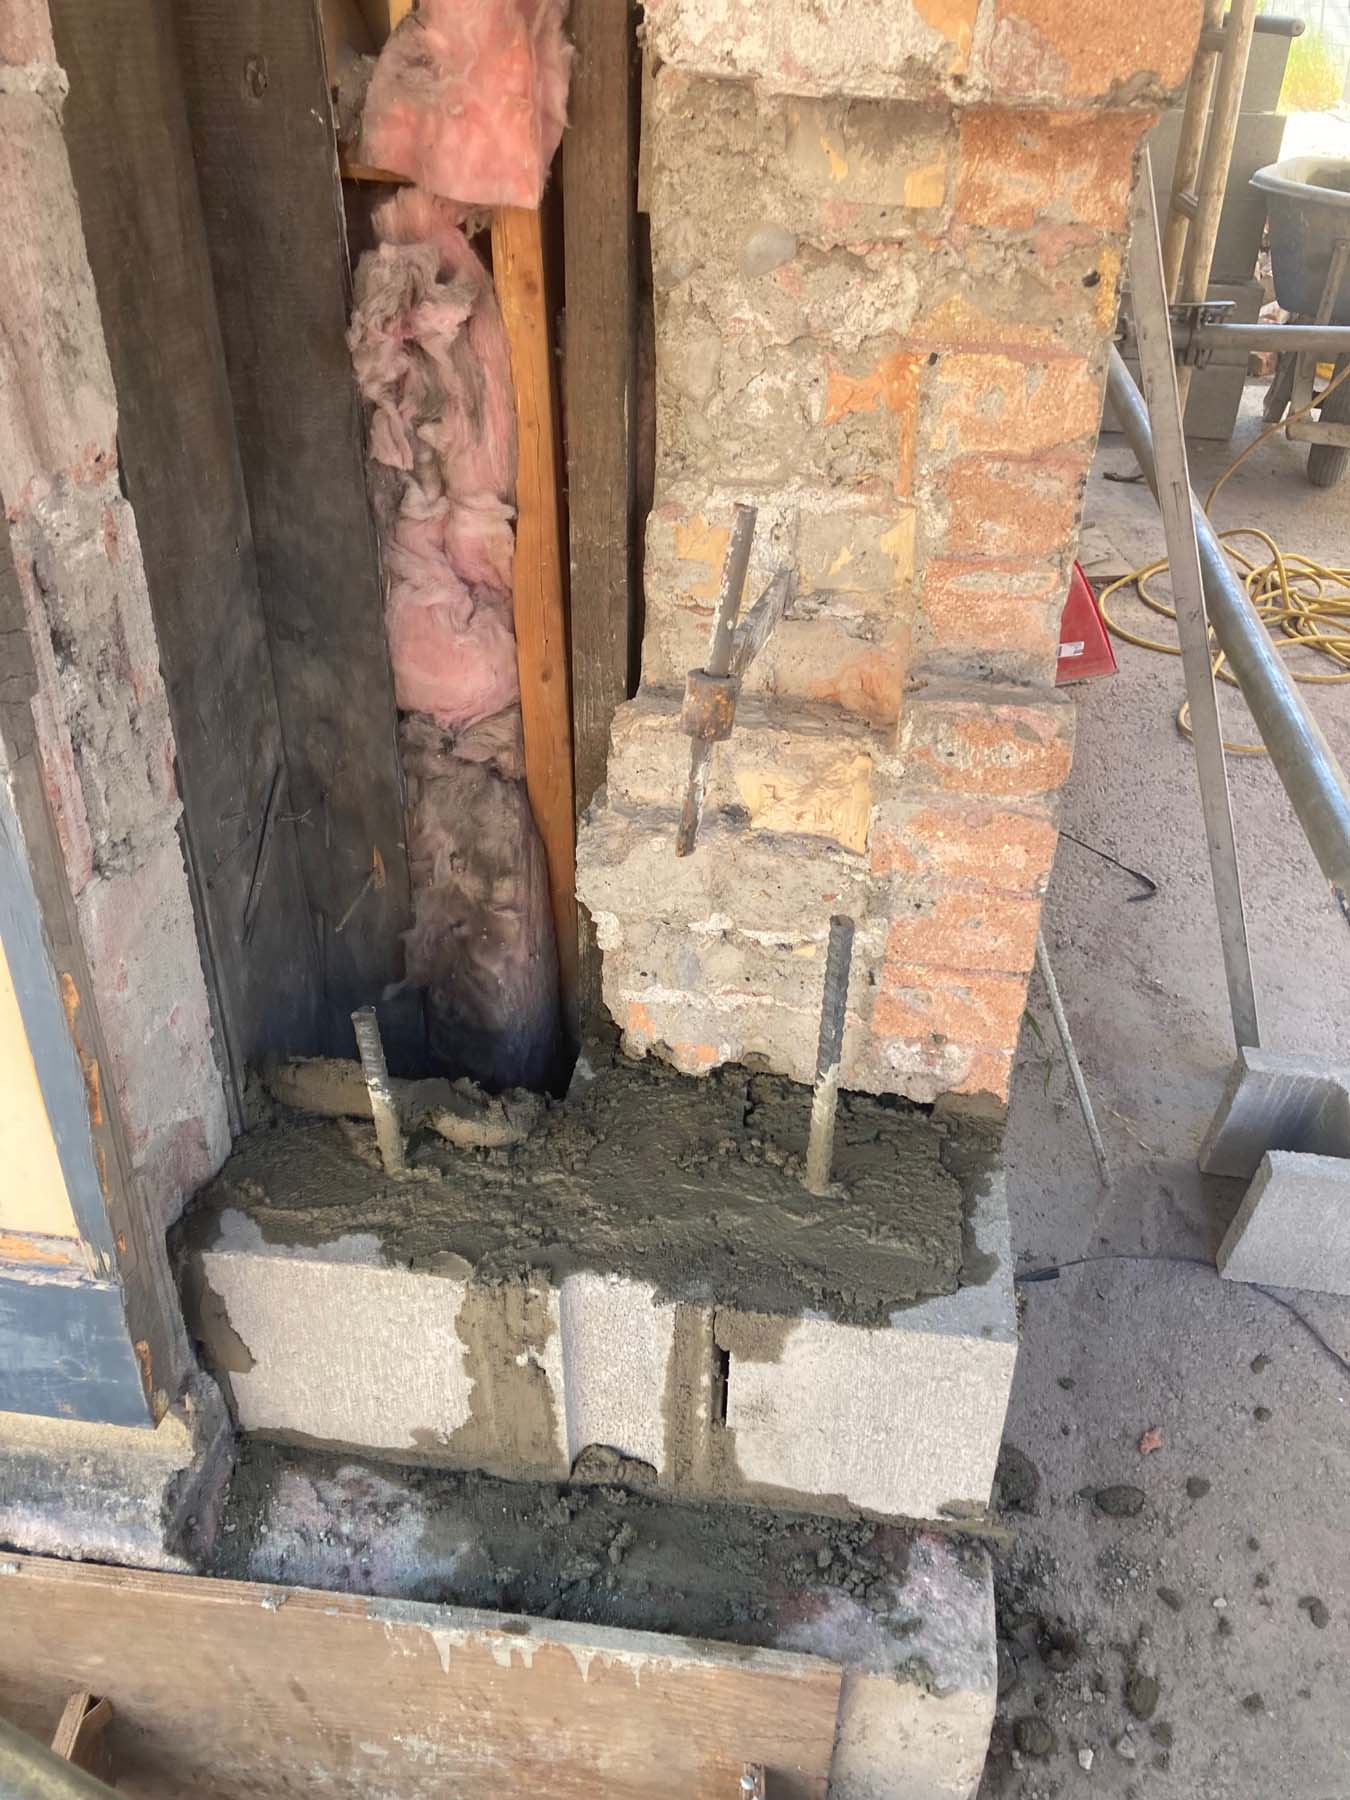
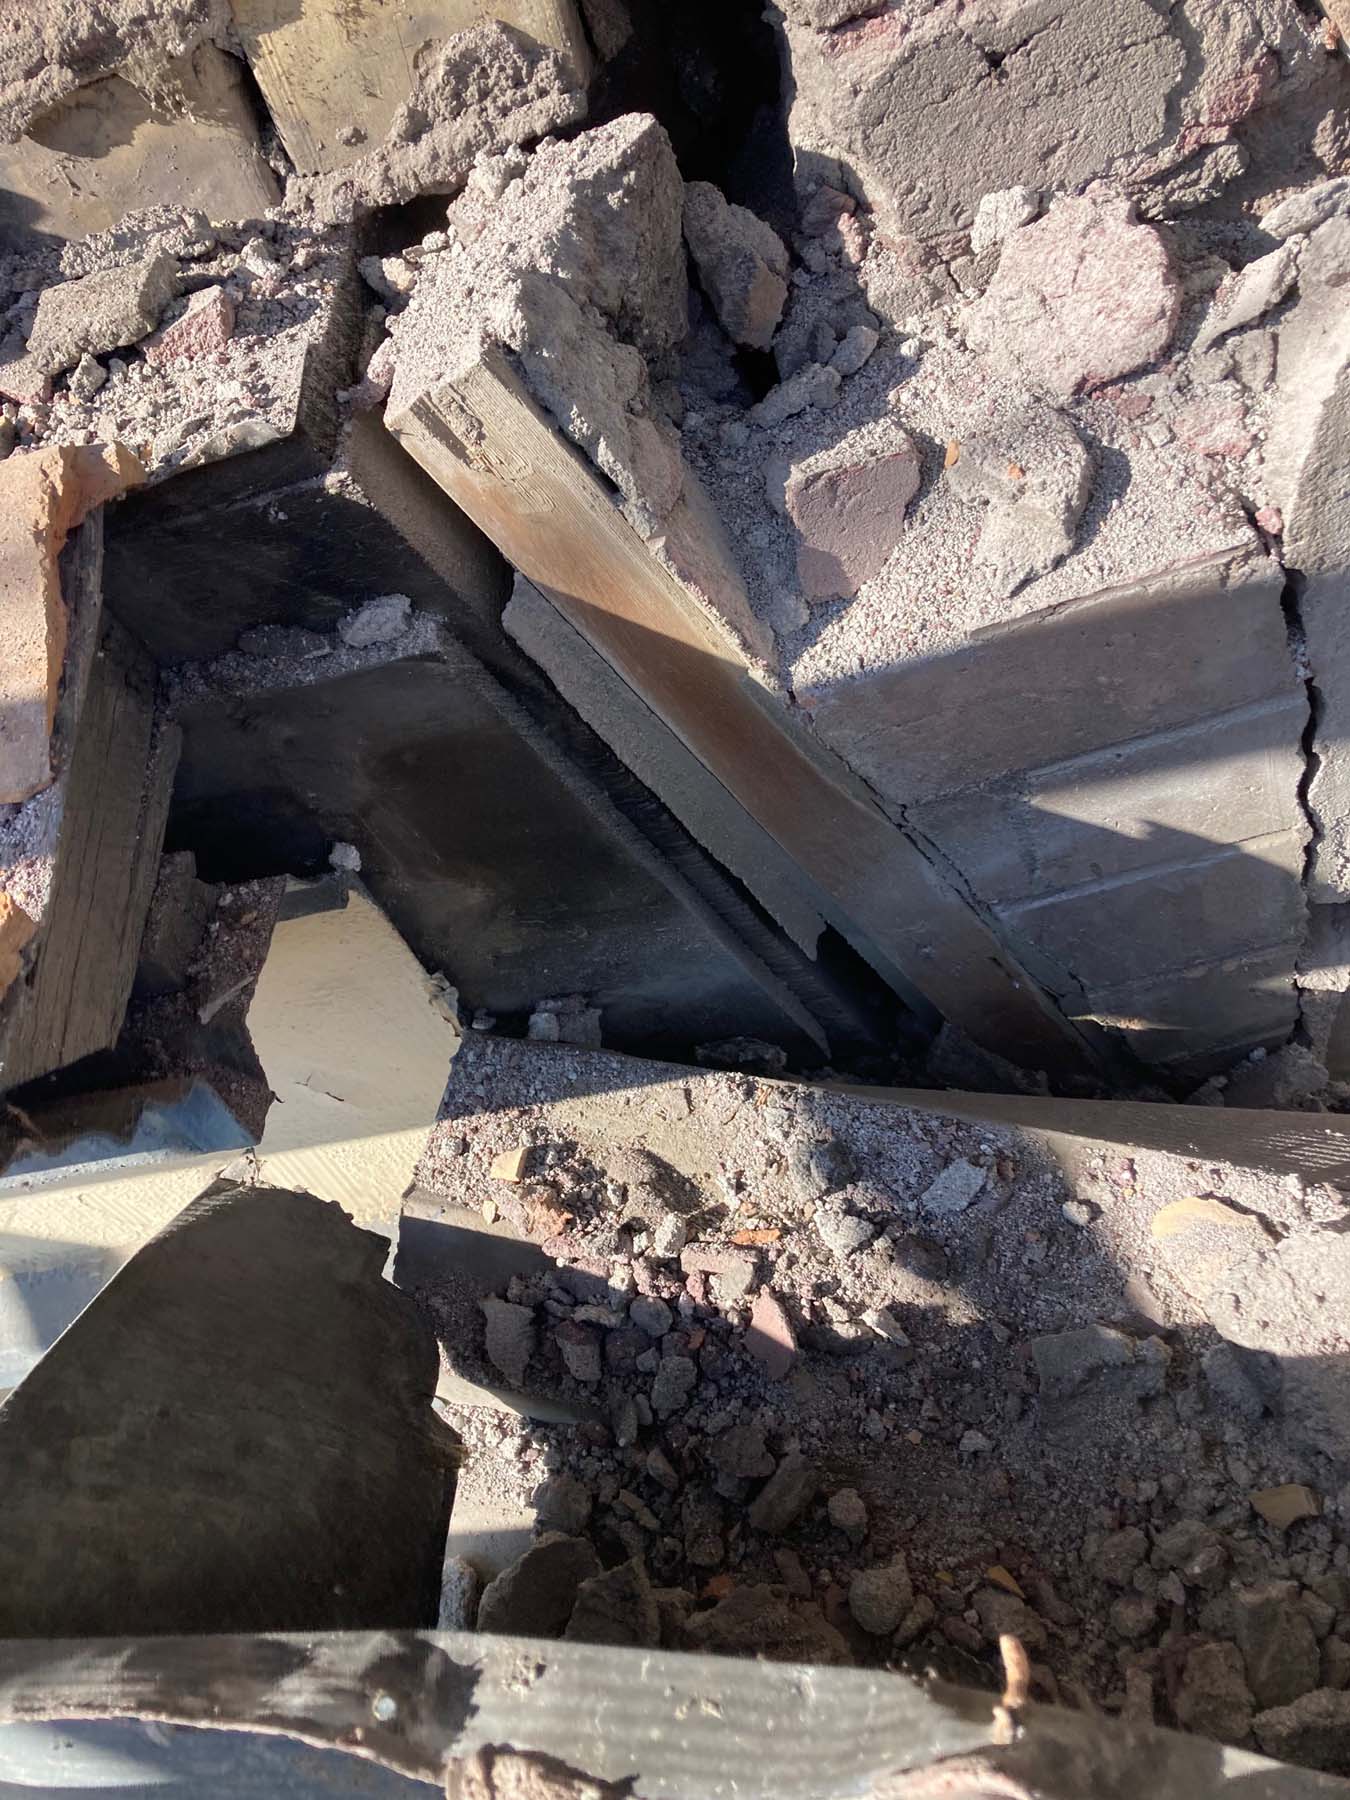
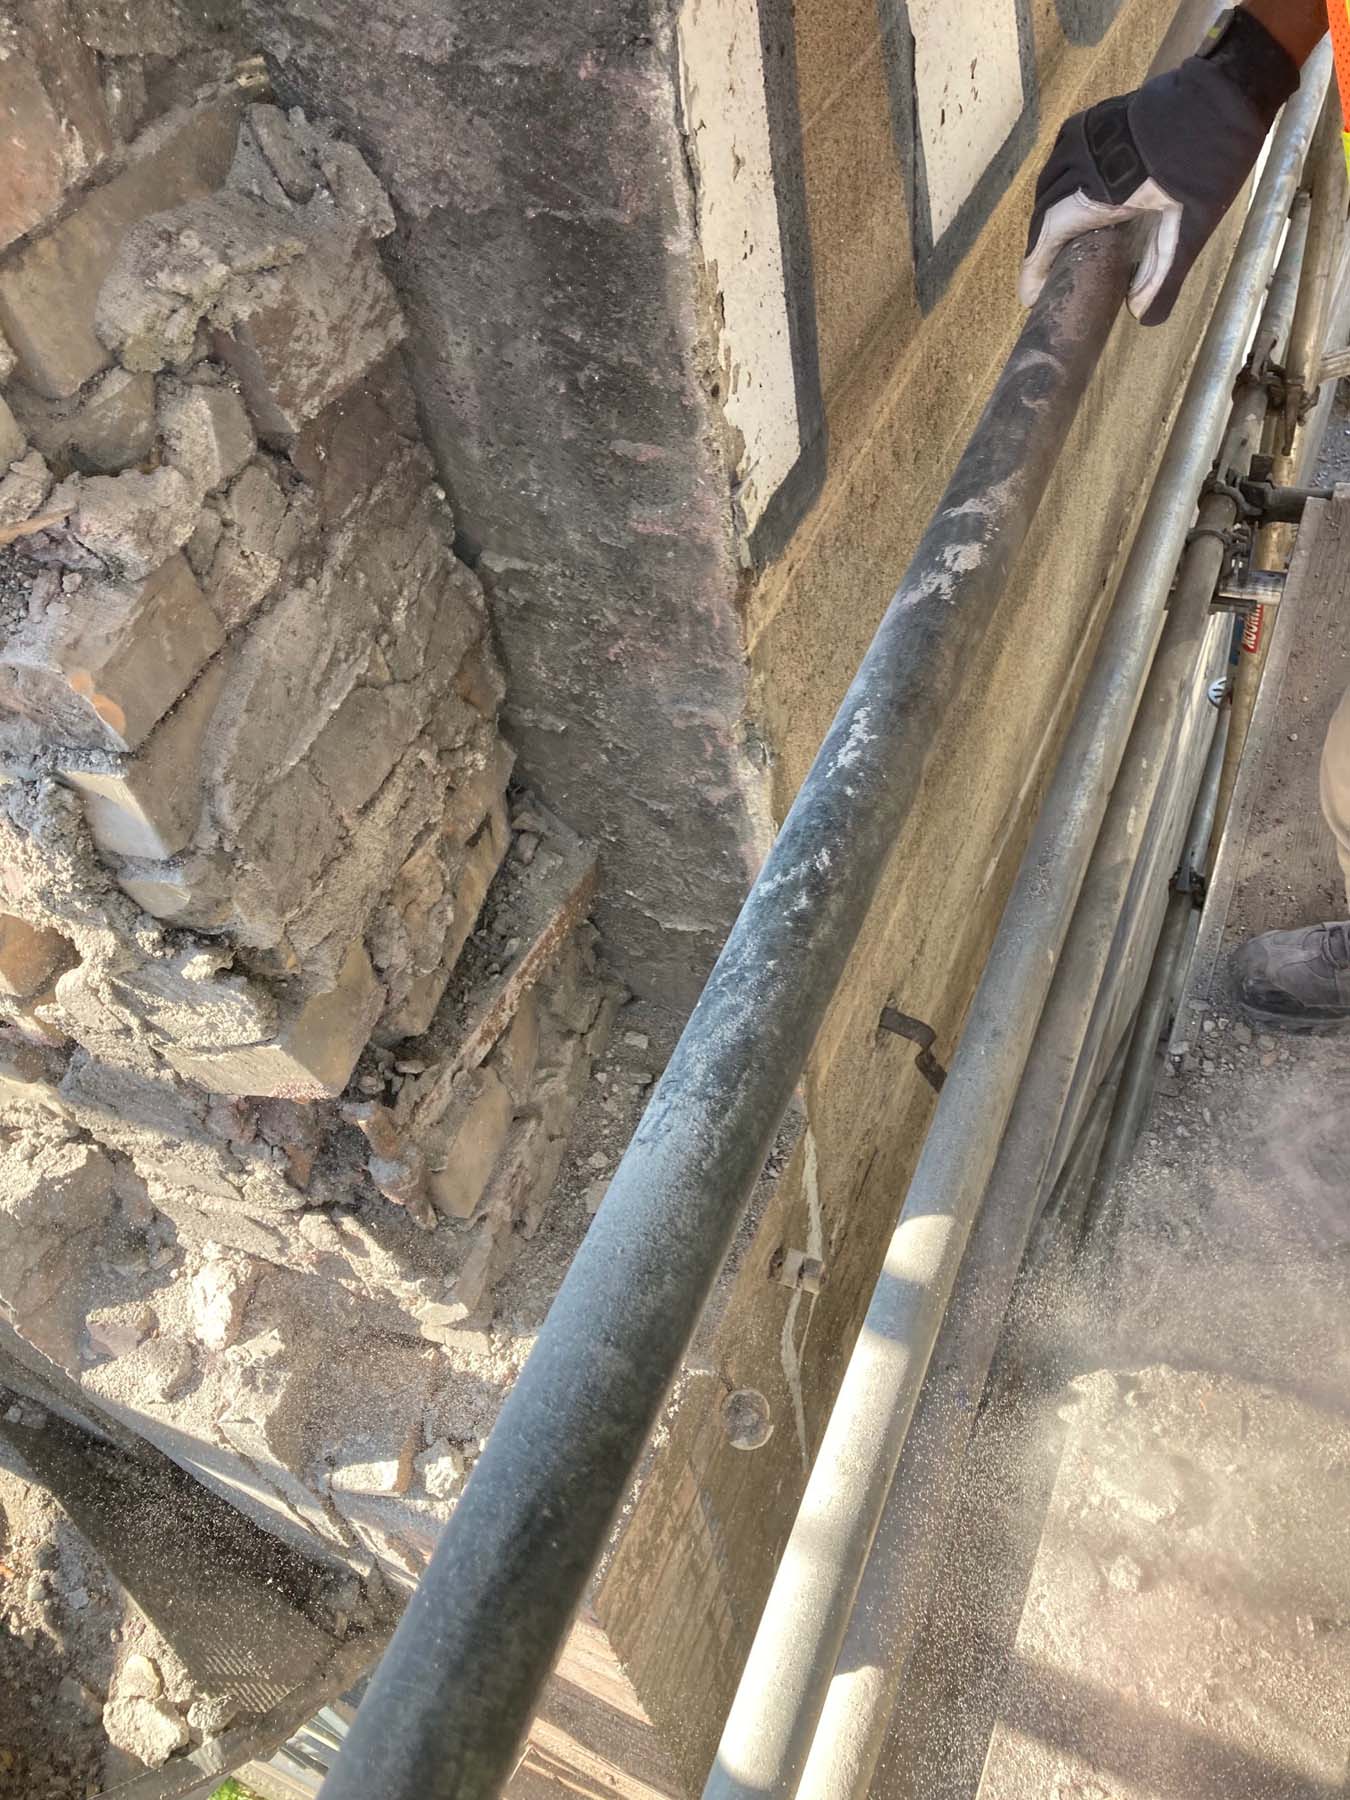
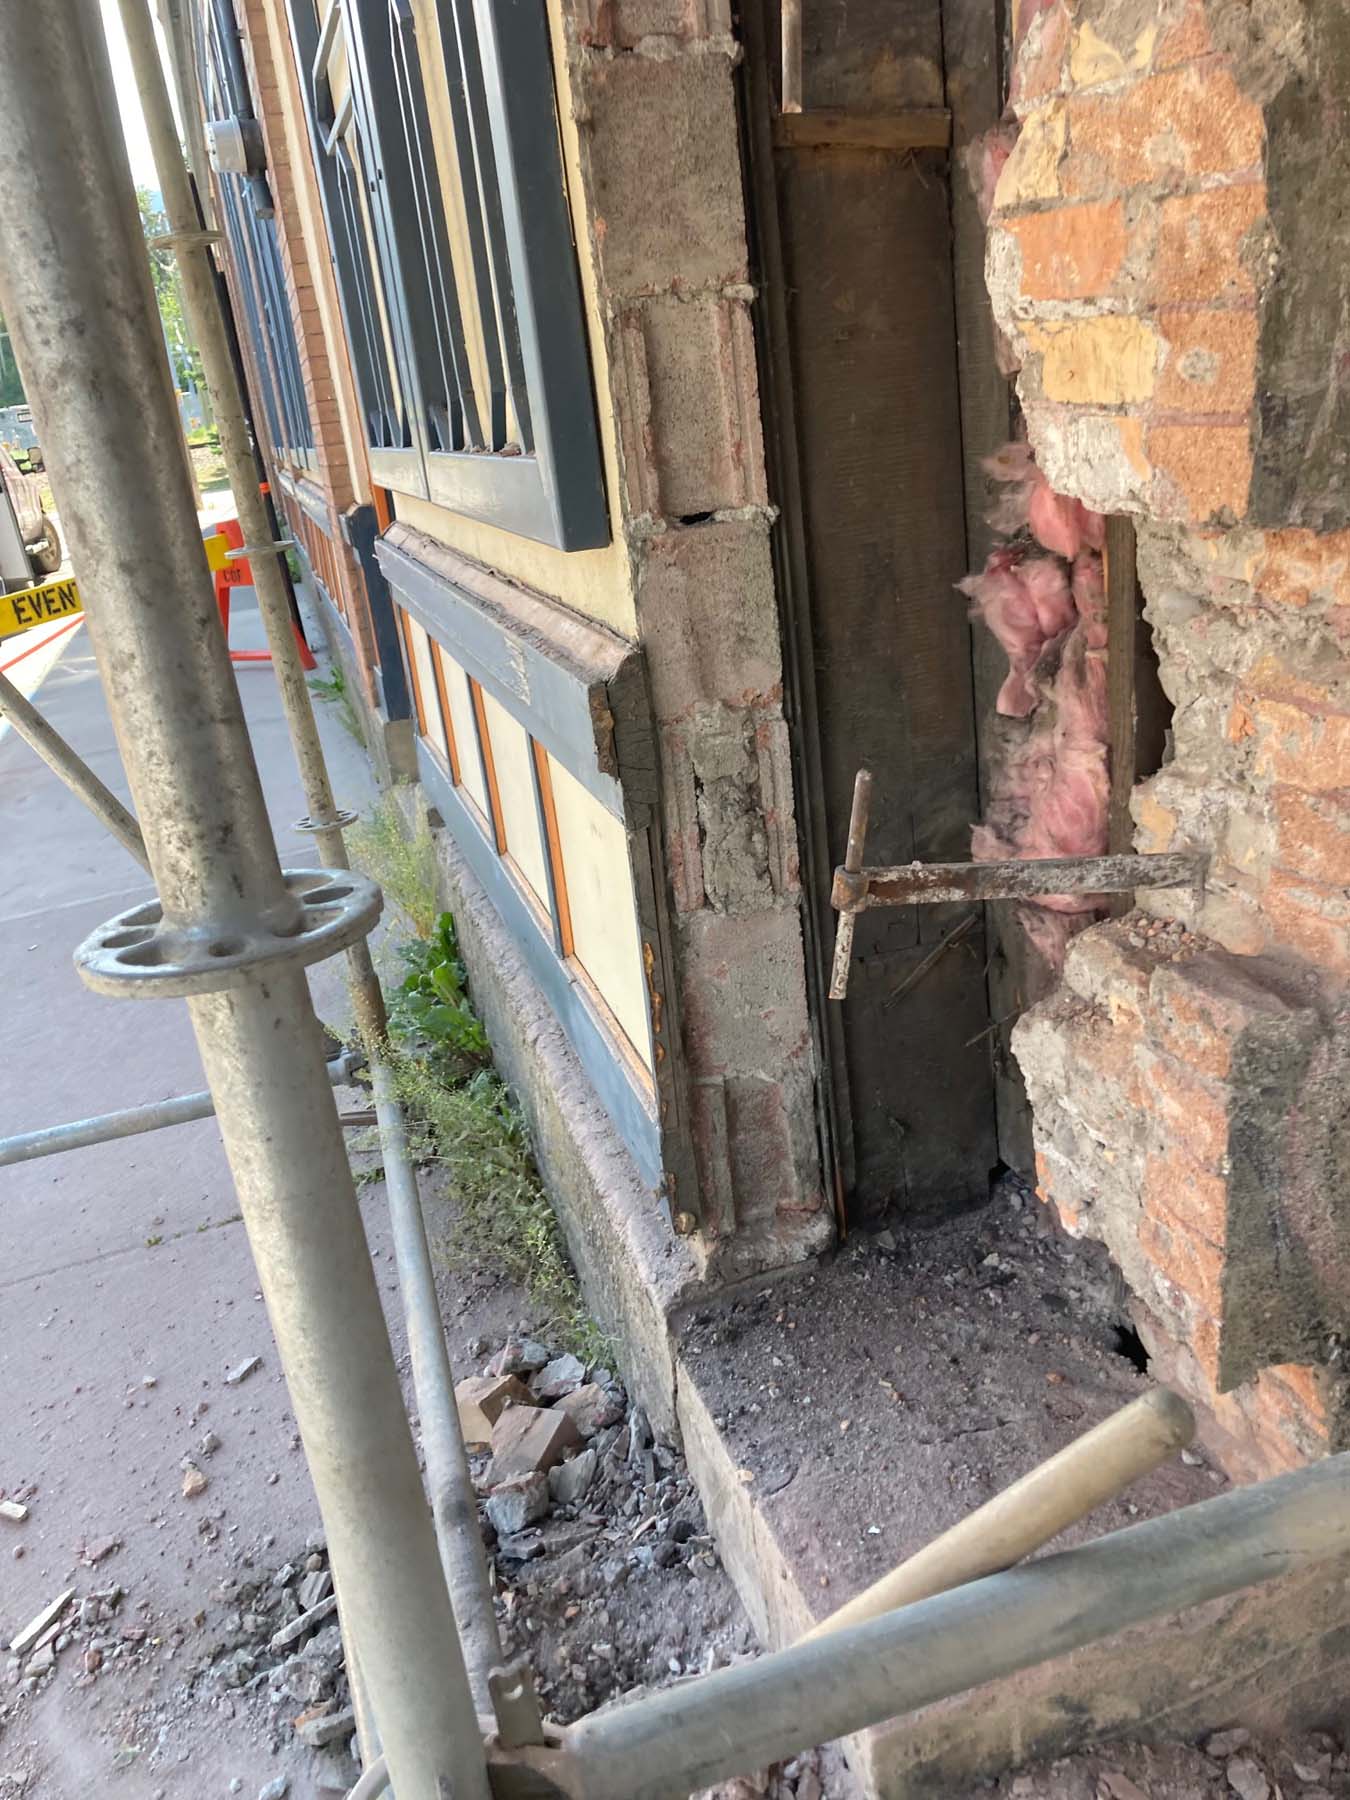
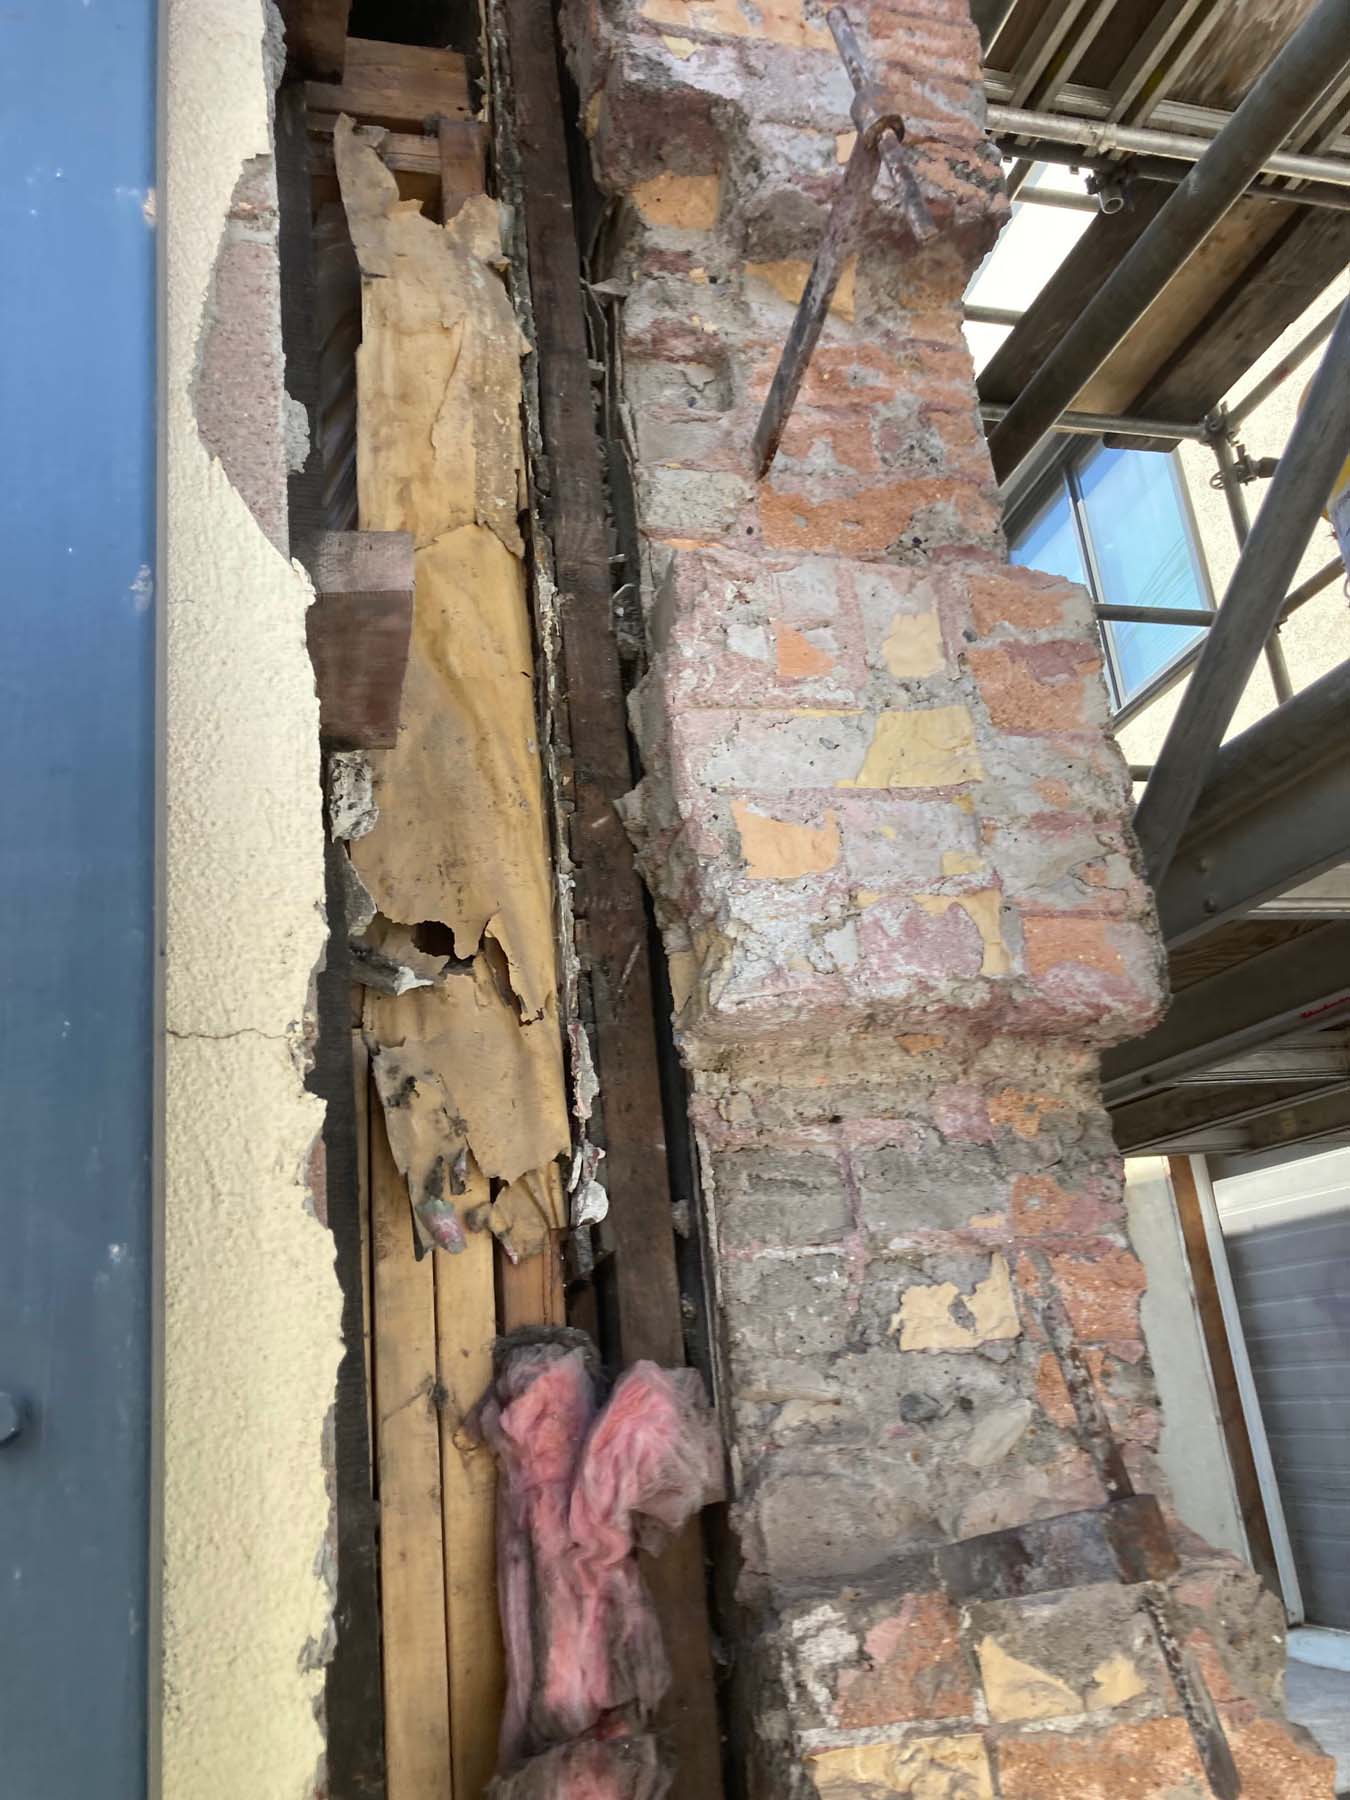
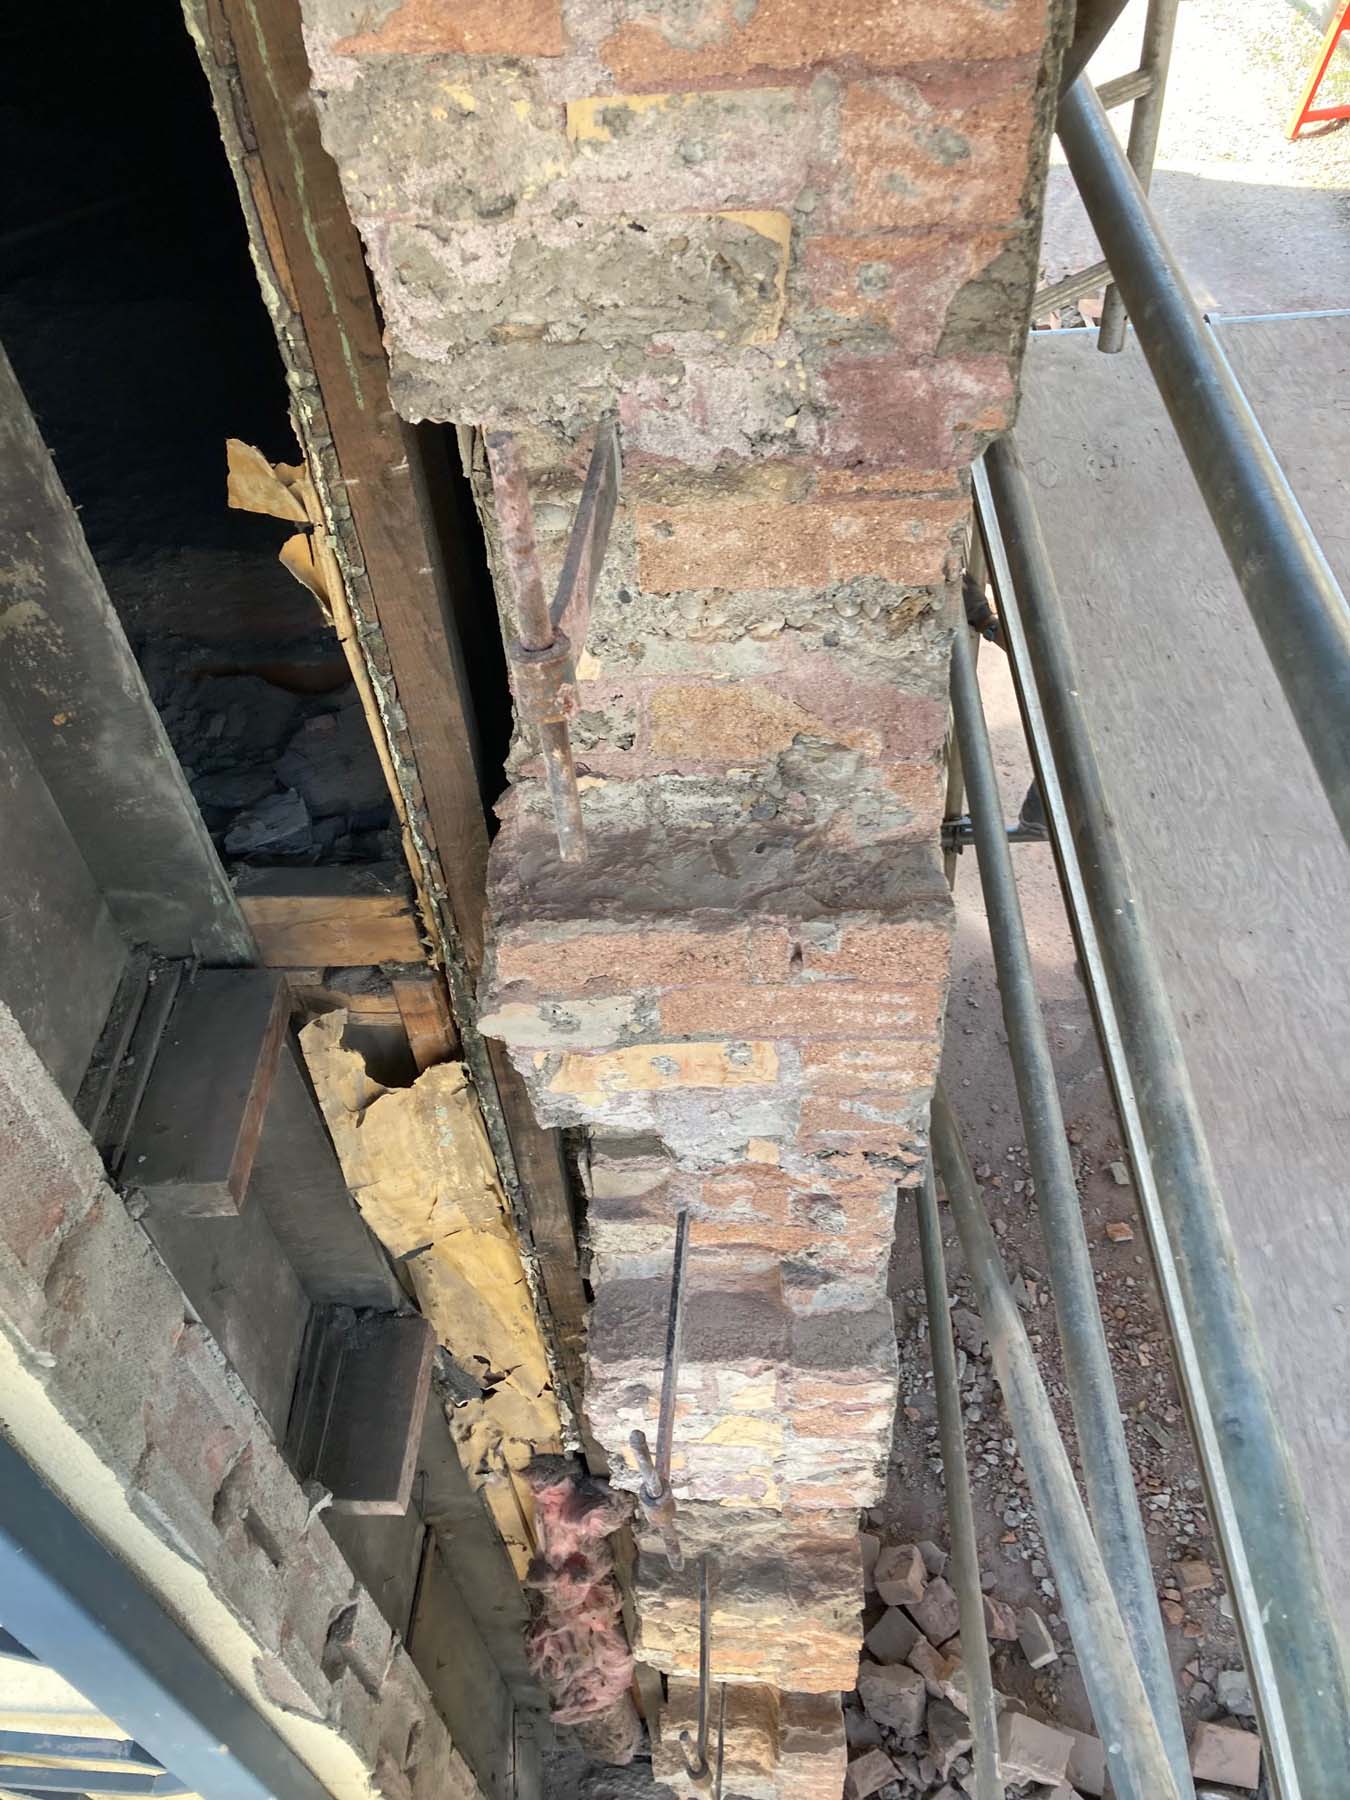
Before Restoration
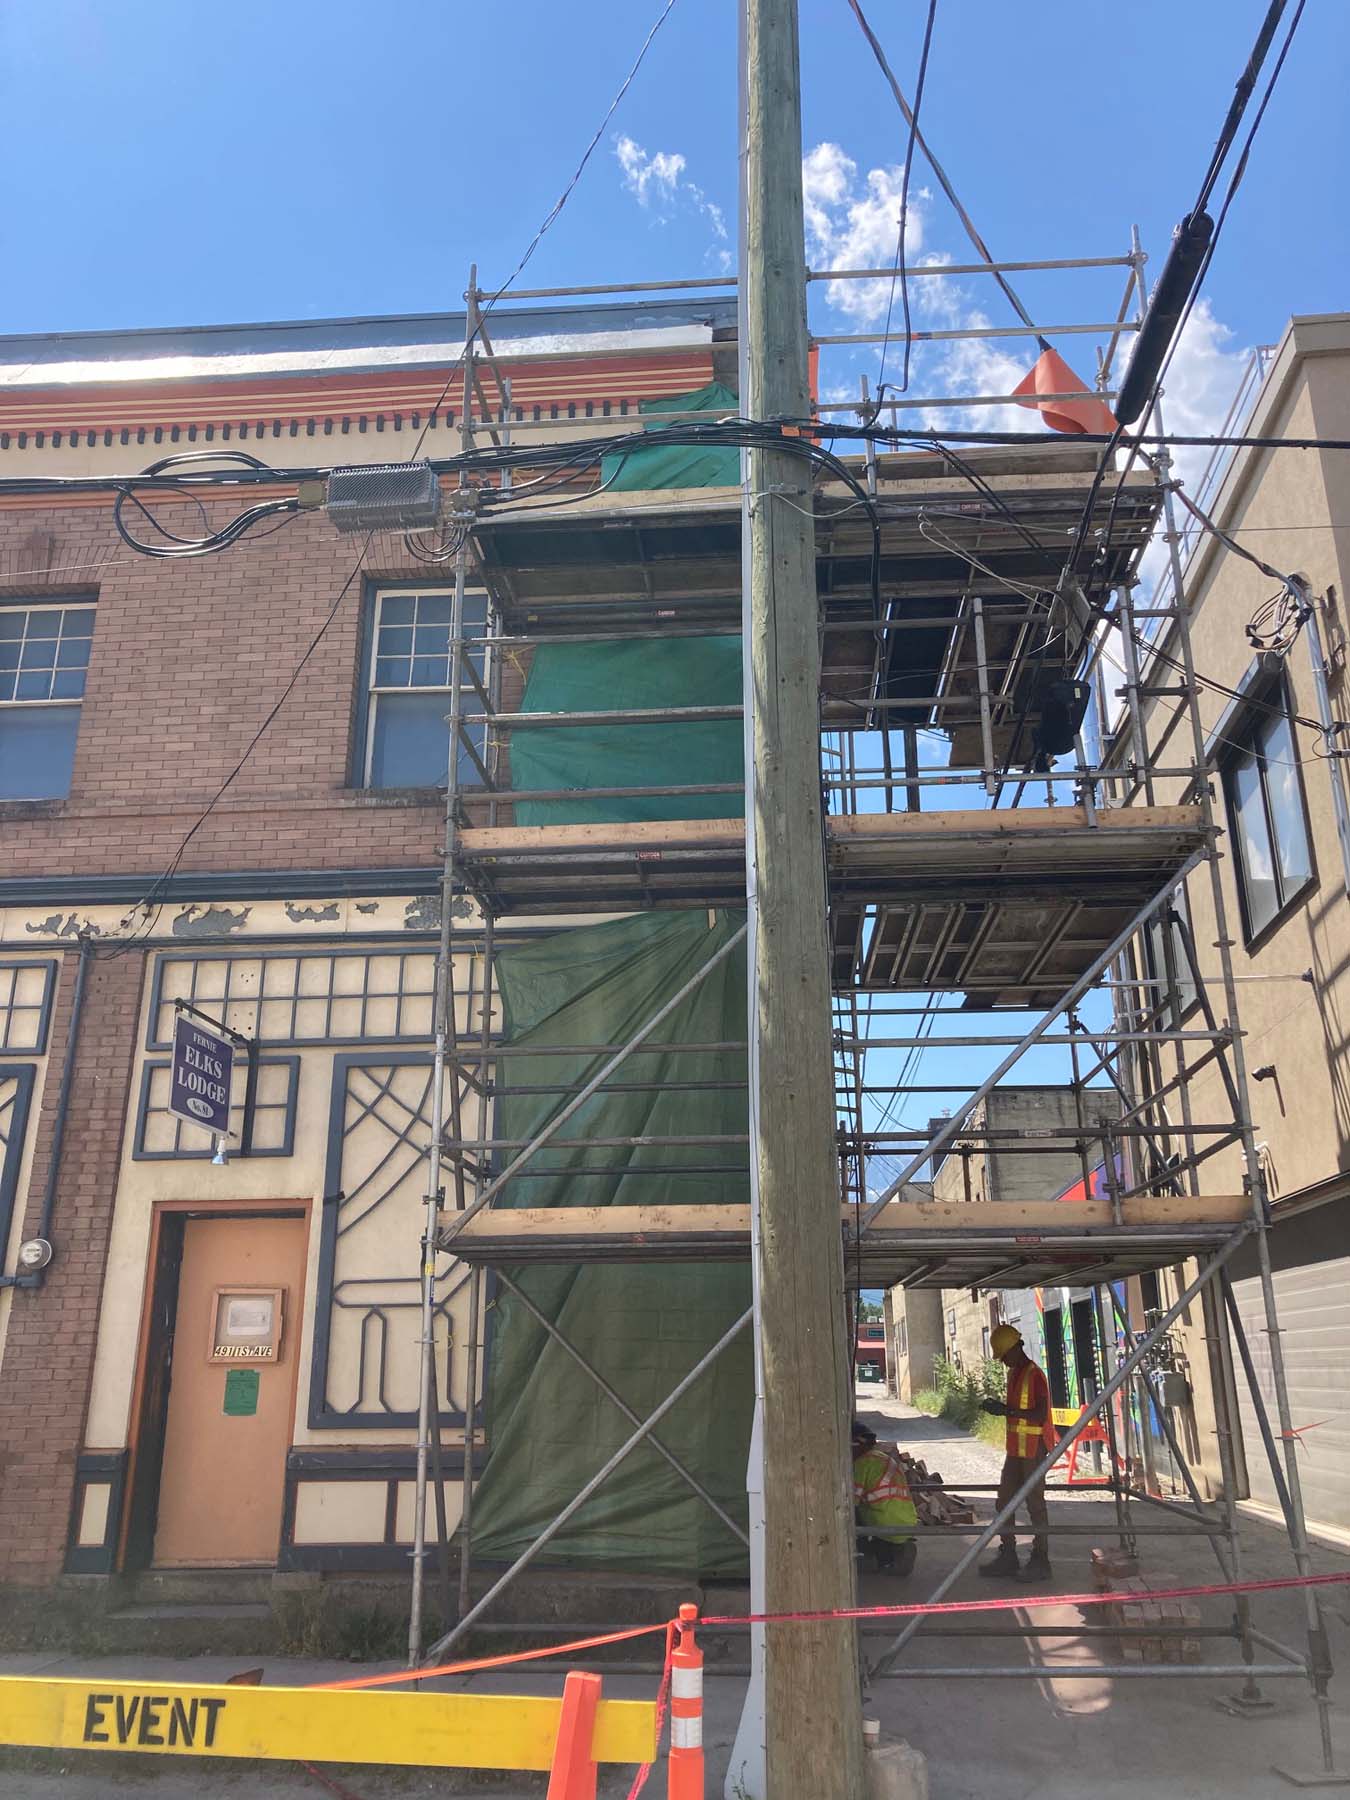
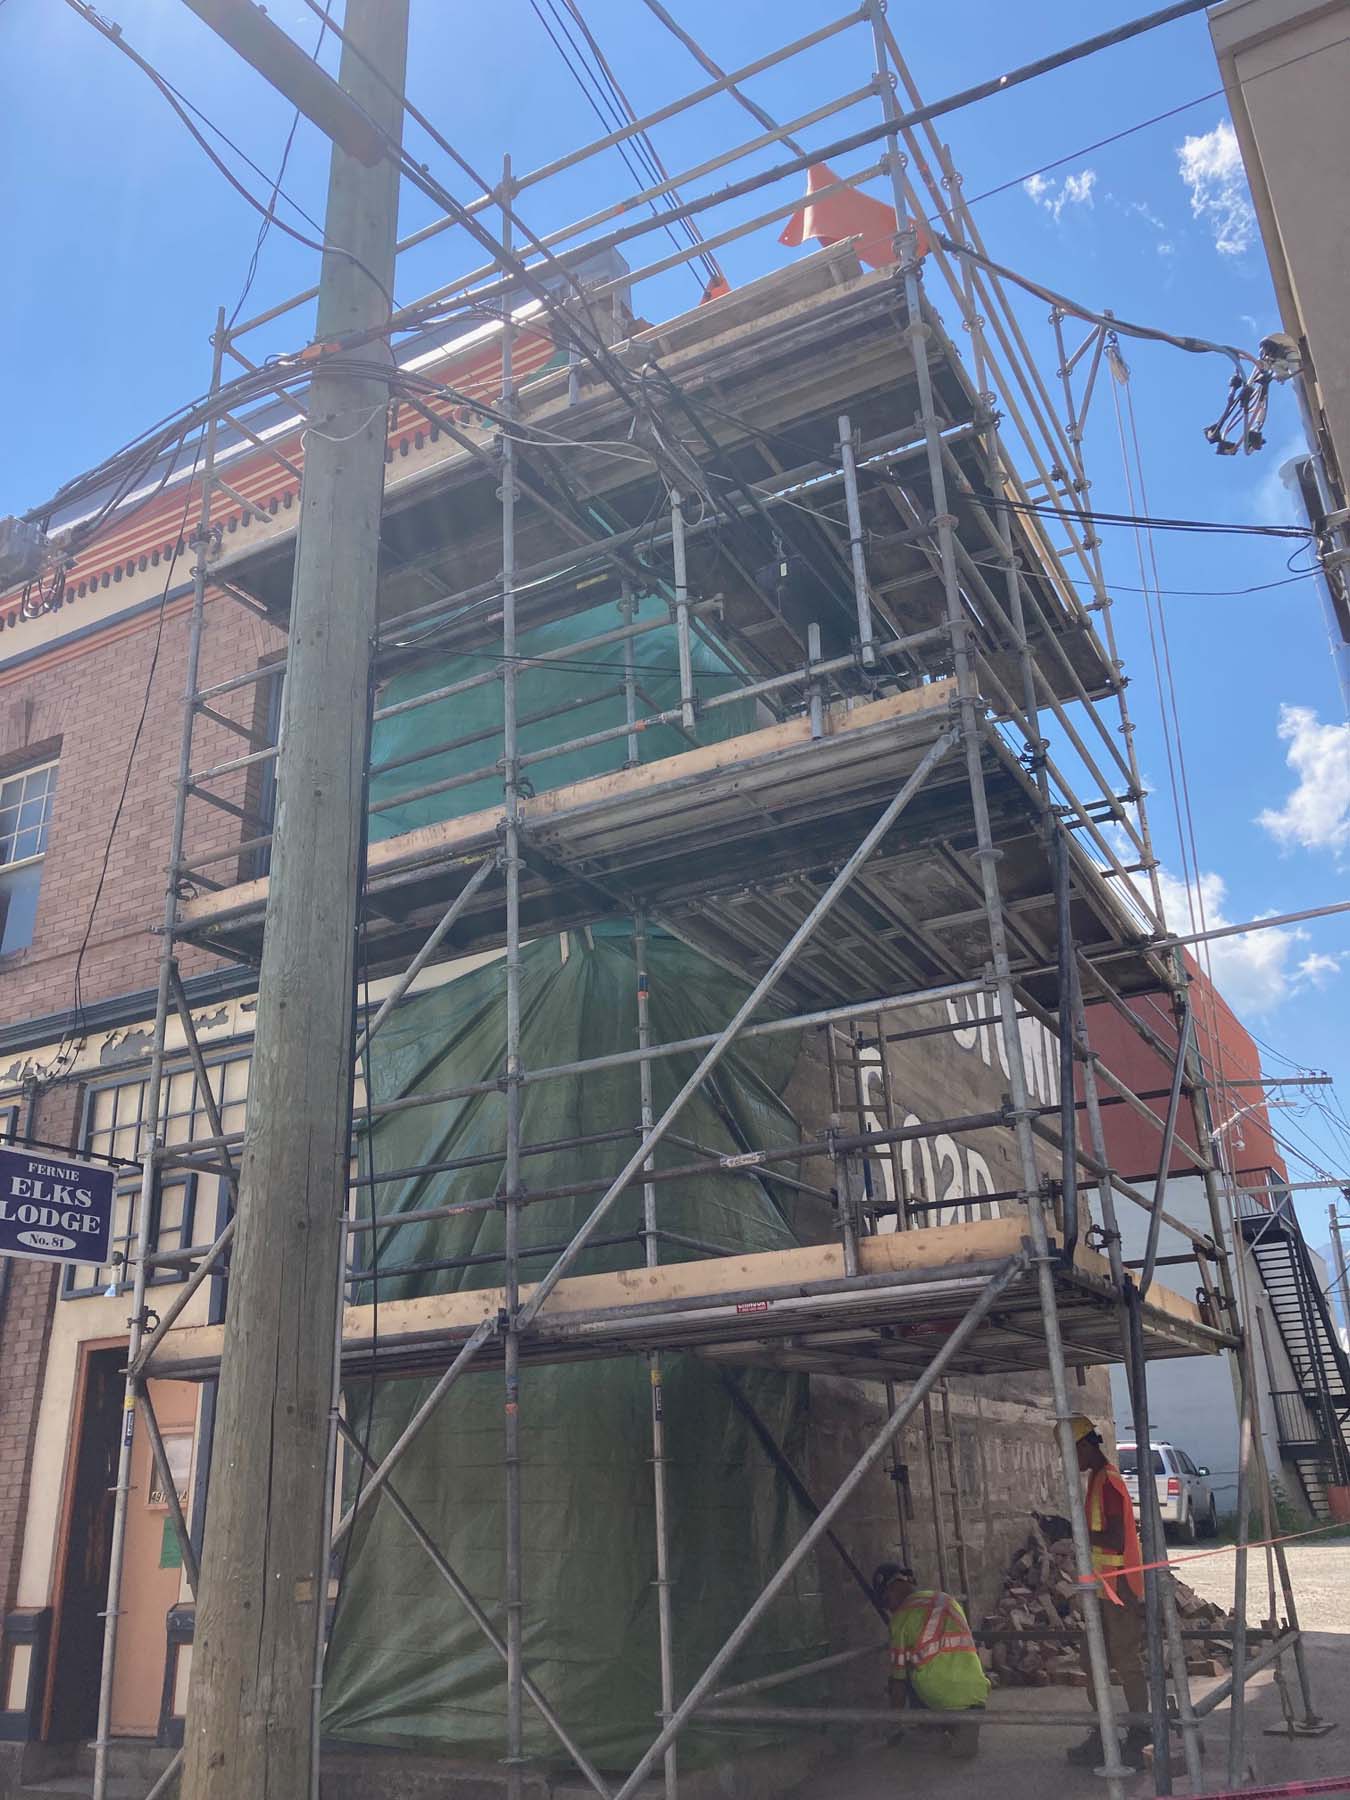
The Brick Restoration Process
Restored Brick
Restoring brick masonry involves the process of repairing or rebuilding a structure made of brick, whether it’s a wall, a facade, or an entire building. Over time, brickwork may deteriorate due to weathering, structural damage, or age. Russell Buksa is an expert in brick reconstruction and can restore brick’s strength, functionality, and appearance. Most recently, Full Mason (RNB Works) has completed brick restoration work in Fernie, BC and Cranbrook BC.
Reconstructing brick masonry is a delicate and specialized task that often requires knowledge of historical building techniques, proper engineering practices, and an understanding of how the materials behave over time. Full Mason has decades of experience with brick and brick restoration in British Columbia and Alberta.
Reconstruction is a process! There are several steps that need to be done to get the long term results you want.
1. Assessment of the Existing Structure
- Inspect the damage: Assess the condition of the brickwork, including cracks, spalling (chipping or breaking), mortar deterioration, and any signs of structural instability.
- Determine the cause of deterioration: Common causes include water infiltration, poor construction quality, thermal expansion and contraction, or soil movement. Identifying the cause ensures that the reconstruction will address the root problem.
- Check for stability: If the brick masonry is part of a load-bearing wall or structure, it is crucial to ensure that the surrounding elements are still stable before starting the reconstruction.
2. Planning and Design
- Choose appropriate materials: The new bricks and mortar should match the original materials in terms of size, colour, texture, and strength. For historical or heritage buildings, it’s important to maintain the aesthetic and historical integrity of the structure.
- Structural considerations: In some cases, engineers may need to design additional reinforcements (e.g., steel supports, lintels, or foundations) to ensure long-term stability.
- Construction methods: Choose the right technique for the reconstruction, whether it involves partial repairs or complete rebuilding.
3. Preparation of the Site
- Clear the area: Remove debris, old bricks, and any unstable or damaged masonry. In some cases, it may be necessary to remove large sections of the brickwork to properly access the area to be rebuilt.
- Prepare the foundation: If the original foundation is damaged, it may need to be repaired or replaced before proceeding with brick reconstruction.
4. Brickwork Reconstruction
- Remove damaged bricks: Carefully remove broken or cracked bricks that need replacing. This should be done without damaging the surrounding masonry, especially when dealing with load-bearing walls.
- Clean and prepare the site: Before laying new bricks, clean the surfaces of the remaining masonry, removing old mortar and dust. This ensures good adhesion of the new mortar.
- Lay new bricks: Start laying new bricks in the same pattern and orientation as the original brickwork. Use a proper mortar mix (usually a blend of sand, cement, and lime) that is compatible with the original materials.
- Mortar application: Apply mortar between the bricks, ensuring that the joints are consistent in size and shape. Mortar joints should be filled completely and leveled off to create a uniform surface.
- Bond pattern: Ensure that the correct bond pattern (e.g., running bond, Flemish bond, English bond) is maintained for both strength and appearance.
5. Repointing (if necessary)
- Repointing existing joints: If the original masonry is still mostly intact but the mortar joints have deteriorated, repointing may be necessary. This involves removing old mortar from the joints and replacing it with fresh mortar.
- Repointing technique: Use specialized tools like a pointing trowel to carefully apply mortar into the joints, ensuring that the mortar is compacted and flush with the surface of the brick.
6. Curing and Finishing
- Cure the mortar: Allow the new mortar to cure properly. This may involve spraying water on the joints to prevent rapid drying, which can lead to cracking.
- Cleaning the bricks: Once the mortar has set, clean off any excess mortar from the surface of the bricks using a wire brush or a mild acid solution. Be careful not to damage the brickwork.
7. Final Inspection and Quality Control
- Check the structural integrity: Ensure that the reconstructed brickwork is stable, with no loose bricks or weakened areas.
- Aesthetic finish: Check that the finished brickwork matches the original design in terms of appearance and texture. For heritage buildings, this may include matching the color of the bricks and mortar.
8. Preventative Measures
- Waterproofing: Apply a water-resistant sealant or damp-proofing treatment to prevent future moisture penetration, which is one of the primary causes of brick and mortar deterioration.
- Maintenance plan: Establish a routine maintenance schedule to regularly inspect the masonry for cracks, leaks, or signs of further deterioration.

